The Biggest Health Food Trends of 2026
Discover the biggest health food trends of 2026, from quality fats and functional beverages to gut‑supporting foods, natural sweeteners, and clean-label brands. See how these innovations are shaping smarter, simpler, more nutritious eating.
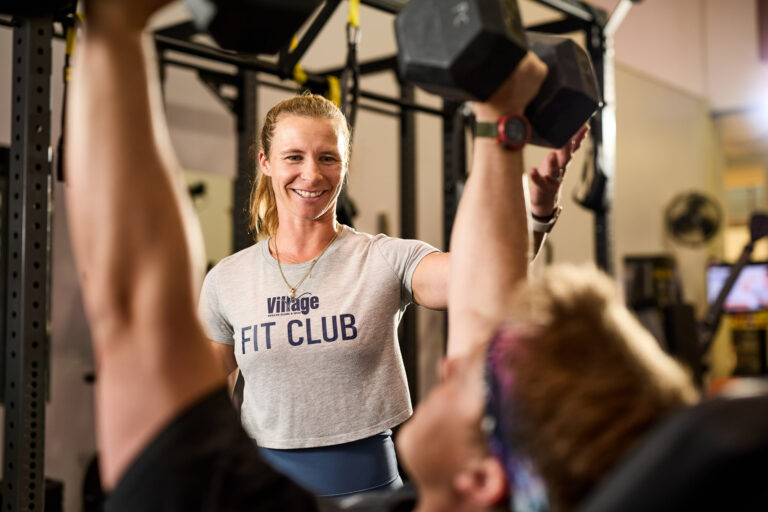
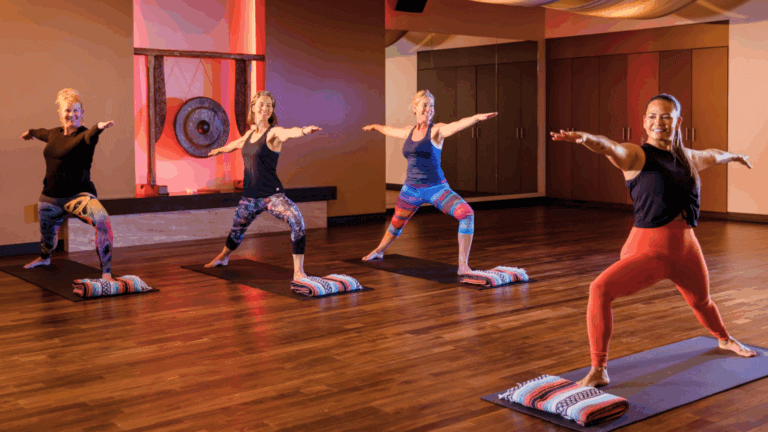
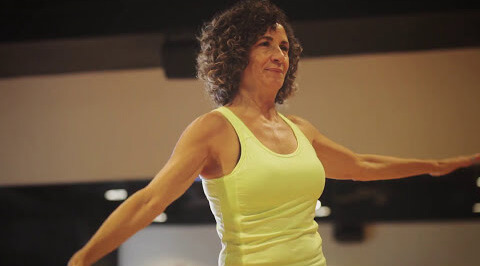
Finding Your Ideal Cardio to Strength Training Ratio
Cindy Angulo helps members find the right balance of cardio and strength training by tailoring each program to individual goals, fitness levels, and long‑term health.
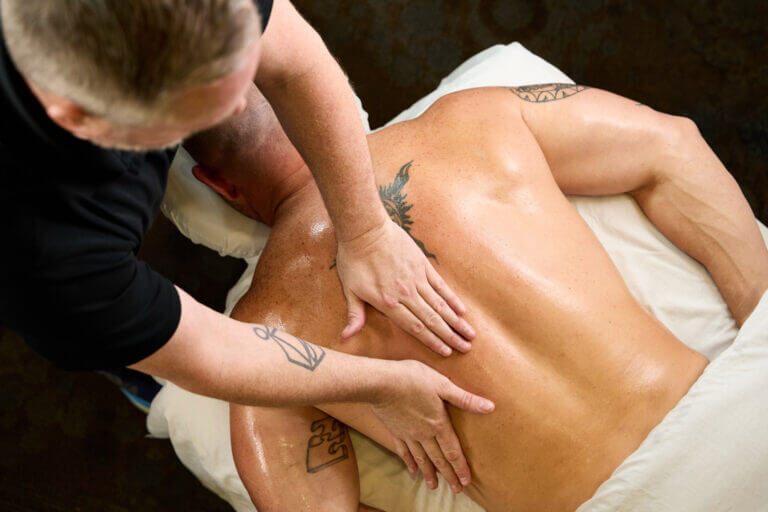
How Often Should You Get Spa Treatments for Total Wellness?
Discover how often you should schedule massages, facials, and other spa treatments to feel your best. This quick guide breaks down the ideal wellness routine for stress relief, skin health, and total-body recovery.
Heart Health Myths
Think fat is bad for your heart? Think again. A registered dietitian breaks down 5 common heart health myths and what actually supports long-term cardiovascular health.
How to Improve Tennis Without Playing: 5 Smart Off-Court Habits
Not all tennis improvement happens on the court. These five off-court habits help players perform better, stay calmer, and enjoy matches more.
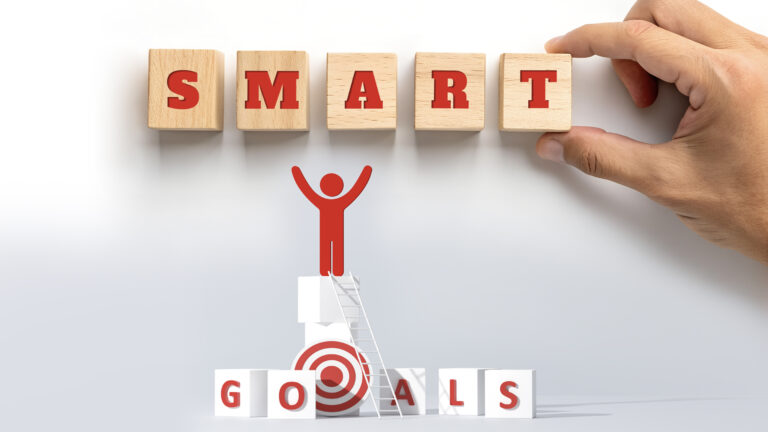
How to Set SMART Fitness Goals You Can Actually Stick to This Year
Struggling to stick to New Year fitness goals? Learn how to set SMART fitness goals and build habits that actually last.
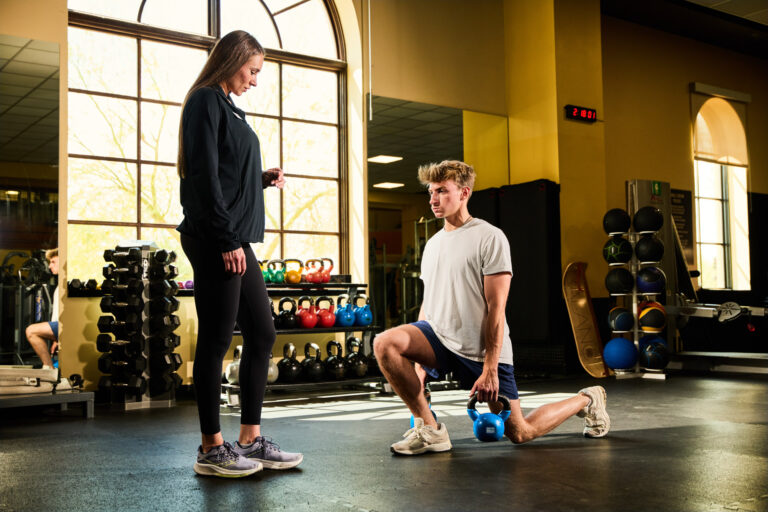
How to Mix Up Your Strength Training Routine
Here are three proven ways to mix up your strength training routine—and how the Village's trainers can help you implement them.
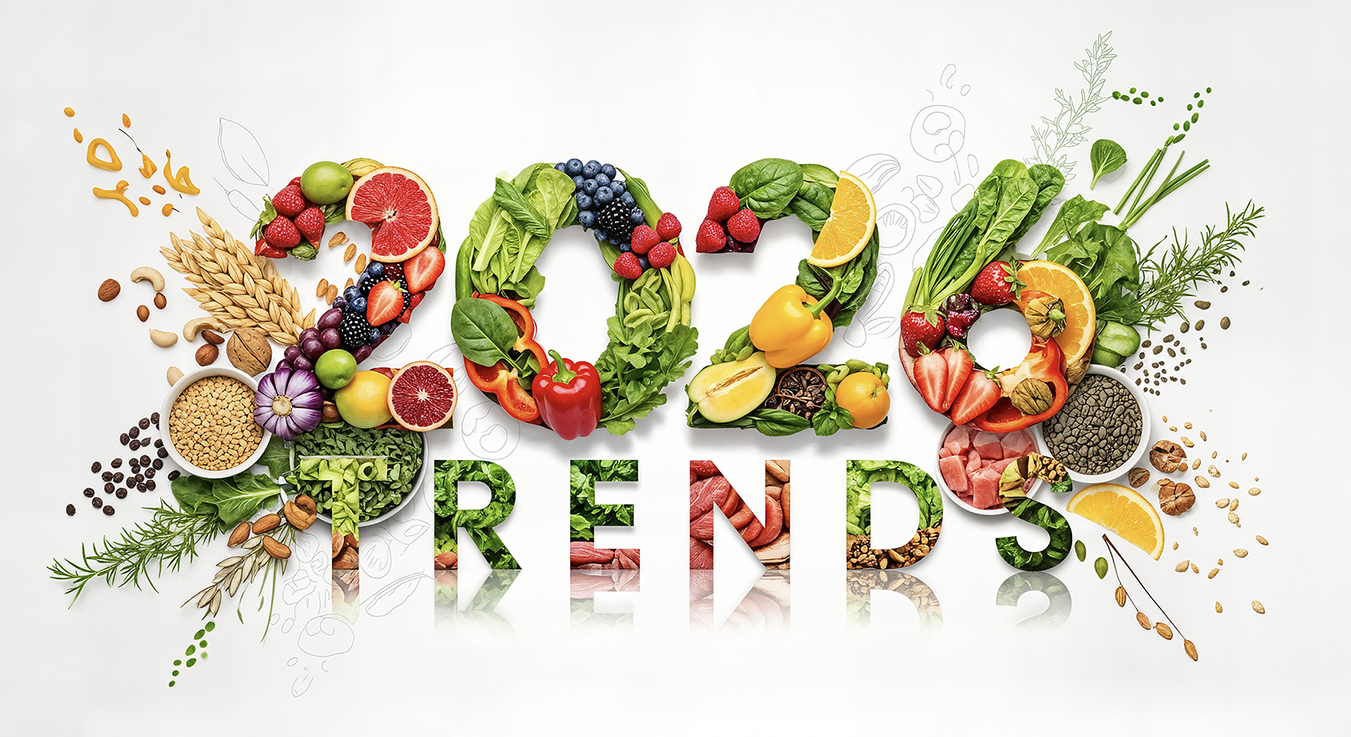
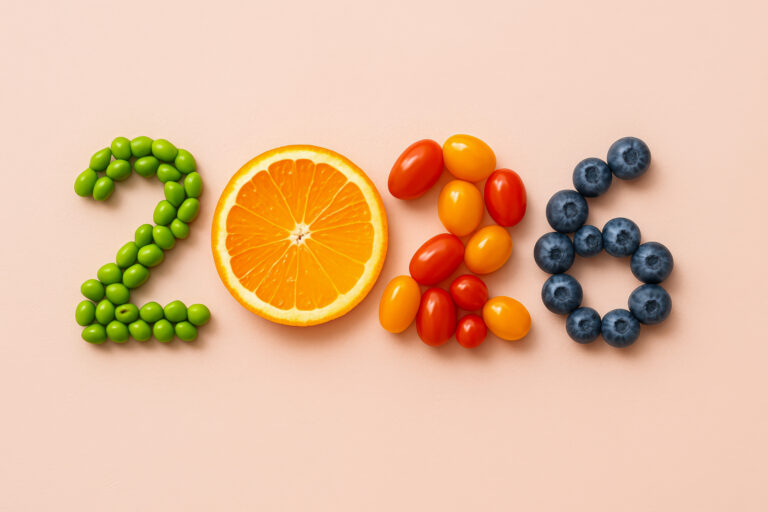
Top 5 Nutrition Trends of 2026: What’s Shaping the Way We Eat
As we move into the New Year, consumers are prioritizing health, digestion, mental well-being, and metabolic support. Village dietitian, Jamie Miller, is sharing the key nutrition trends of 2026.
Best Night Out Hairstyles for Women: Stylish Updos That Look Great on Any Hair Type
Whether you're heading to dinner, an event, or a night in Old Town Scottsdale, an updo can instantly polish your look. These modern styles are simple, flattering, and ideal for women who want elegance without spending hours in front of the mirror.
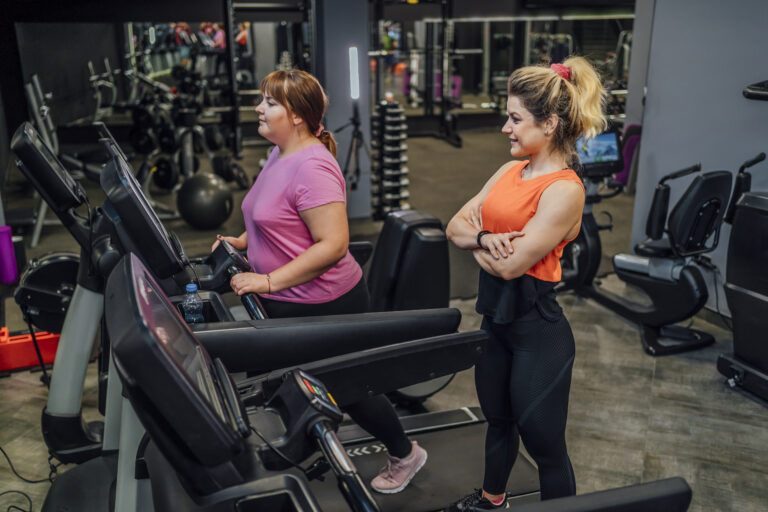
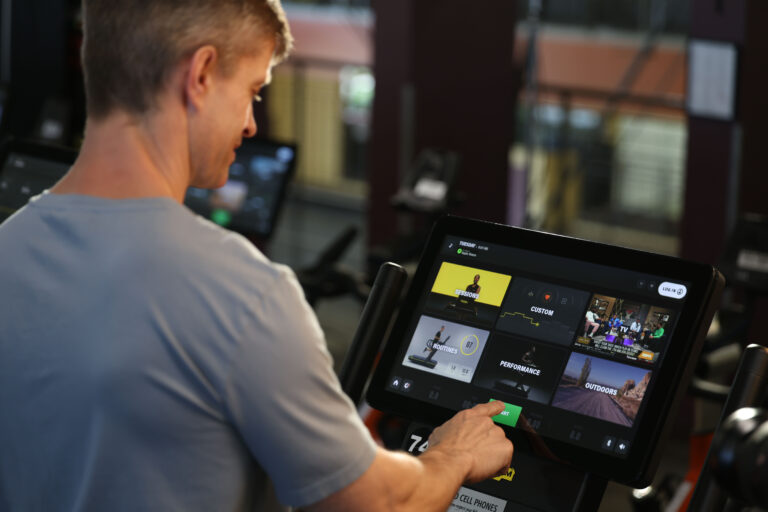
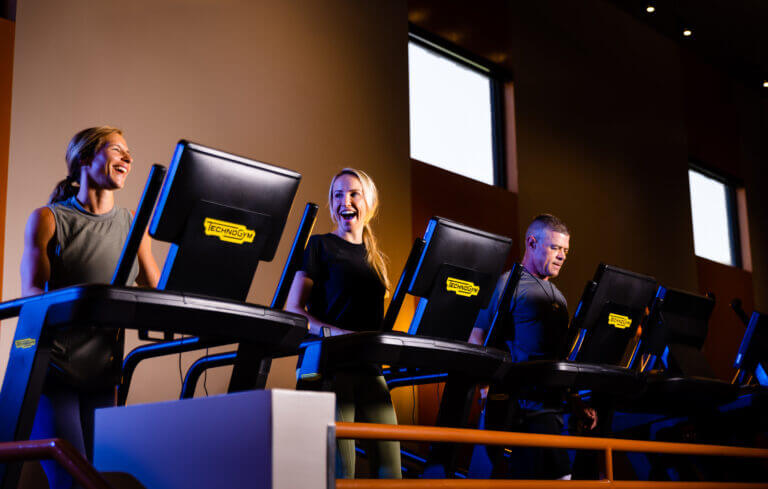
5 Tips to Elevate your Treadmill Workout
What if there’s more to a treadmill workout than just moving your feet while watching a screen? With a few tweaks, you could turn this exercise staple into one of the most effective workouts at the gym.
Why Working with a Personal Trainer Can Transform Your Tennis Game
Work with a personal trainer to improve your tennis game by strengthening, preventing injuries, and boosting confidence on the court.
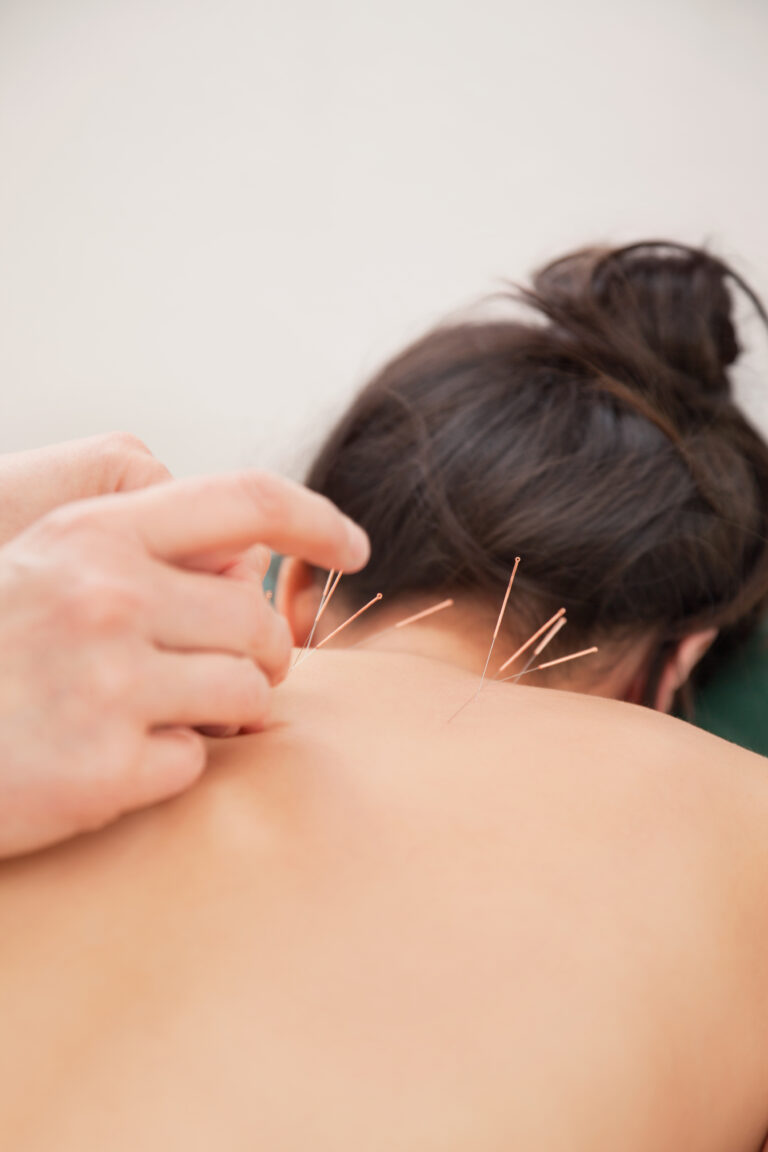
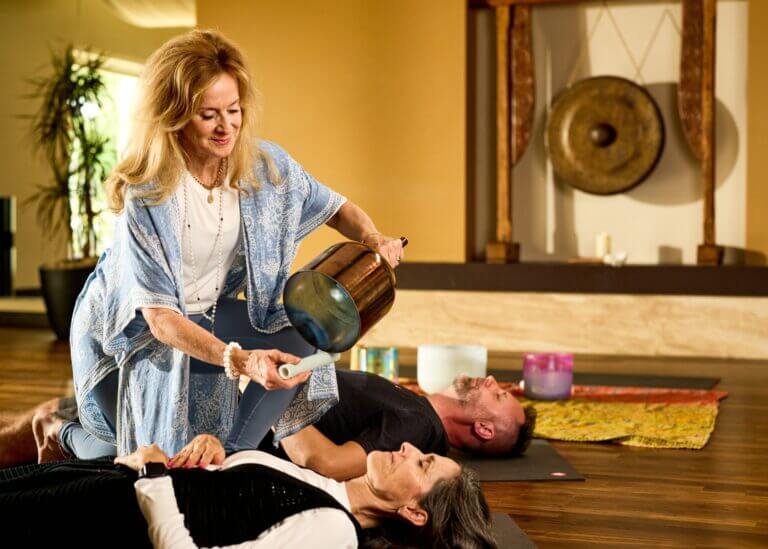
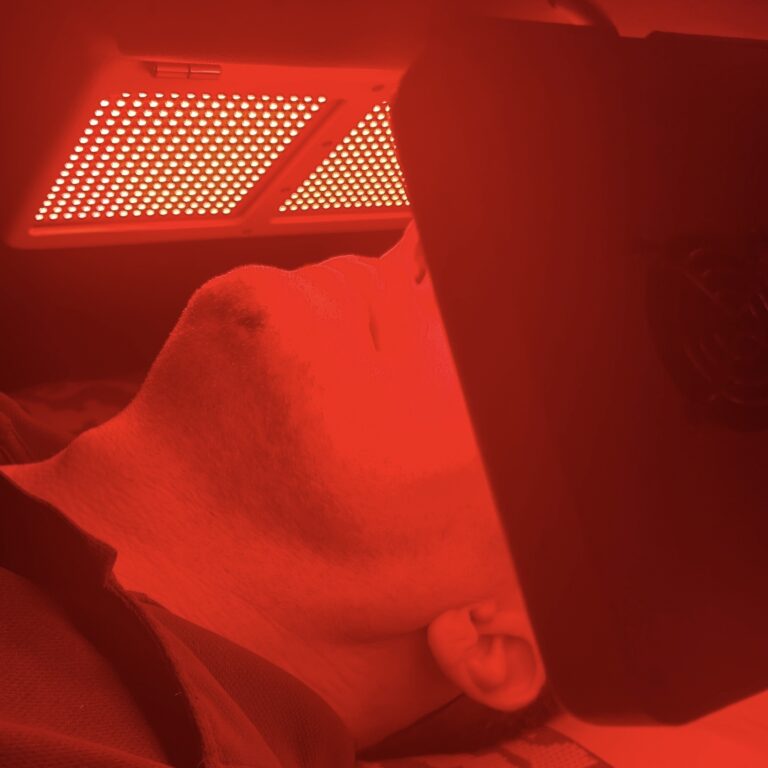
Acupuncture, Red Light Therapy and total Wellness at the Village
At the Village Spa, therapies like acupuncture and red-light therapy go beyond relaxation — they’re designed to support your overall health, boost recovery, and help you feel your best year-round.
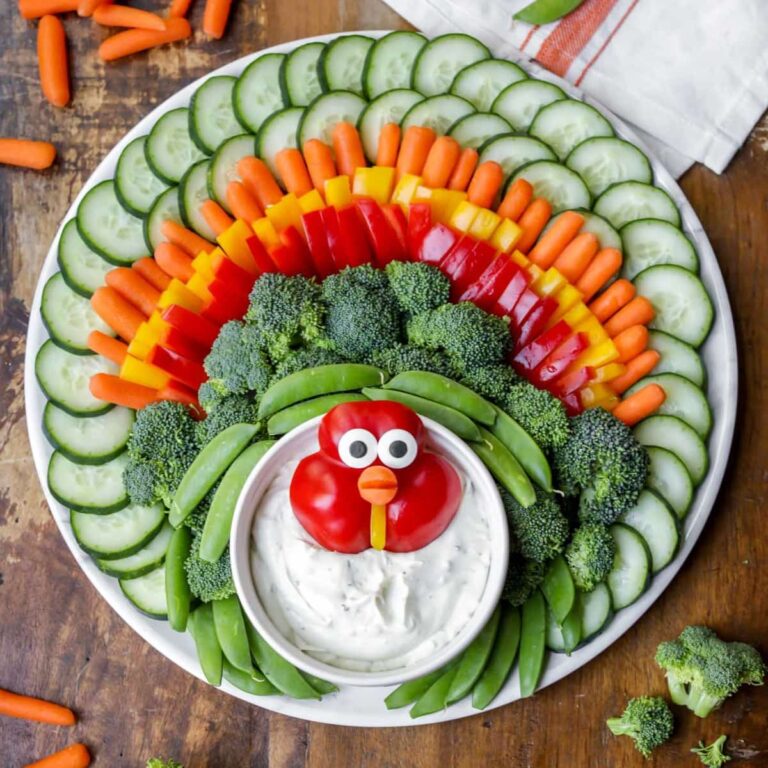
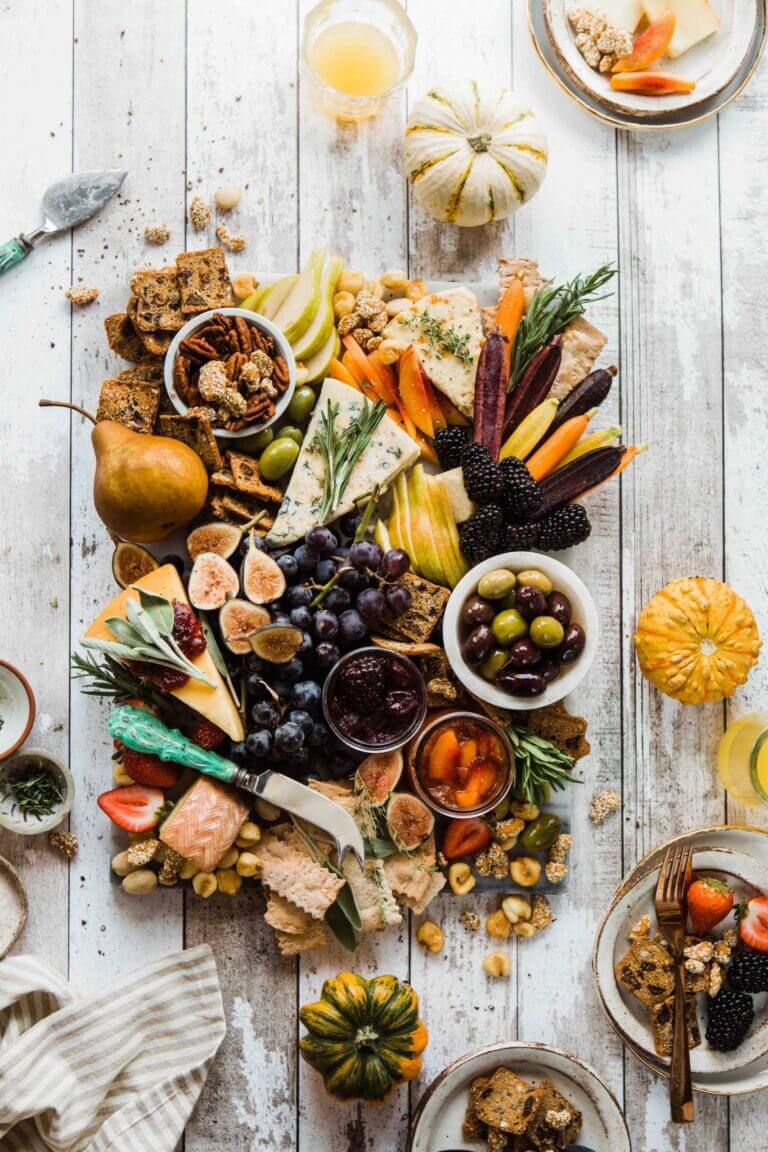
Healthy Thanksgiving Appetizers and Snacks
Turkey is the star of Thanksgiving—but don't forget appetizers. Try these healthy appetizers and snacks for a delicious Thanksgiving!
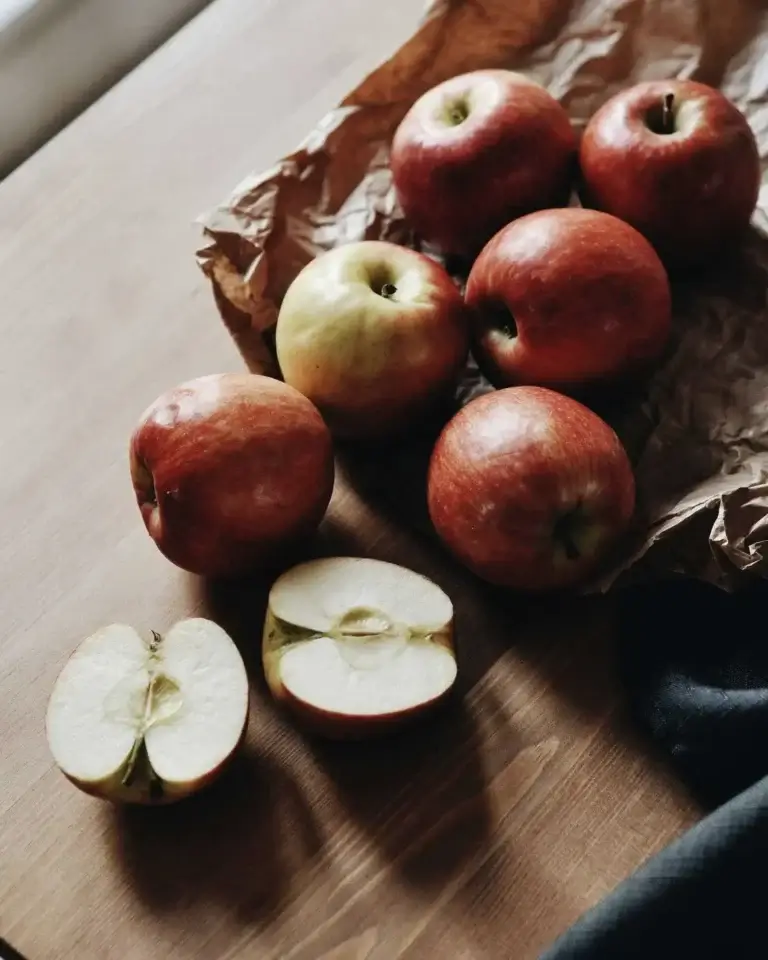
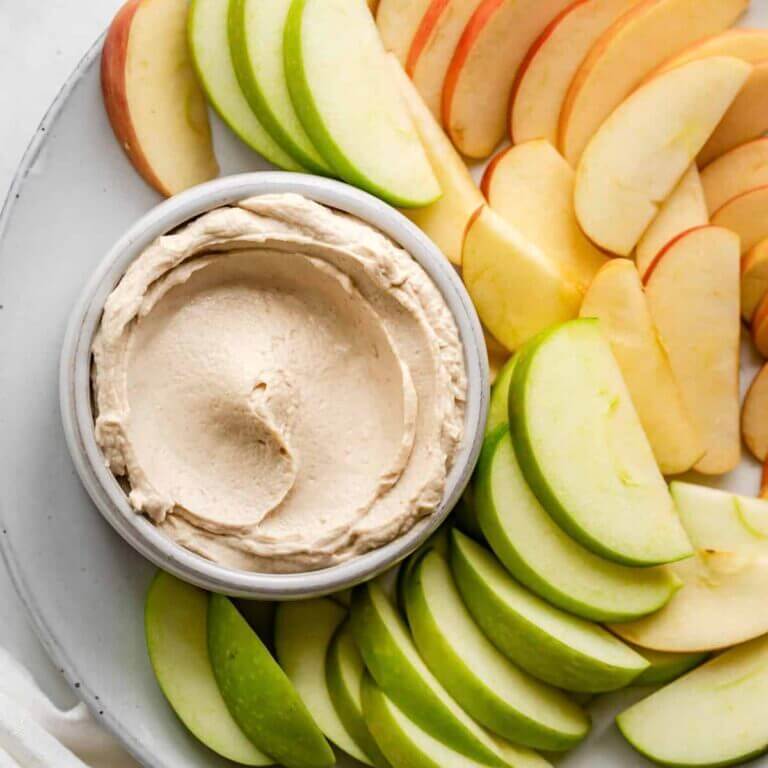
Autumn Apples: Benefits and Recipes
As the weather cools down and we enjoy fall, the seasonal flavor of pumpkin seems to flood grocery store aisles, coffee shops, and bakeries. But one often overlooked, yet equally delicious is the autumn flavor of apple. Crisp, juicy, and naturally sweet, apples are more than just a convenient snack — they’re packed with nutrients that can support a healthy body and mind. Village dietitian, Jamie Miller, explores science-backed health benefits of apples, and share three easy, flavorful recipes that make it simple to enjoy more apples in your daily meals — from savory to sweet.
Benefits Of Ginger
While gingerbread houses covered in icing and candy are something to skip, don’t pass up all ginger flavored holiday foods! Ginger contains the bioactive compound, gingerol, which is an antibacterial that can help fight oral bacteria, and can even halt the growth of E.coli, shigella, and viruses like RSV. Ginger also is well known for calming nausea whether due to motion sickness, pregnancy, or chemotherapy. It helps settle upset stomachs by gingerol’s effect on gastrointestinal motility, which encourages stomach emptying to in turn aid in relieving nausea. Wondering whether to reach for fresh ginger or dried powdered ginger? Both are beneficial! Try out some of these seasonal ginger recipes that are will not only support your health and get you in the holiday spirit.
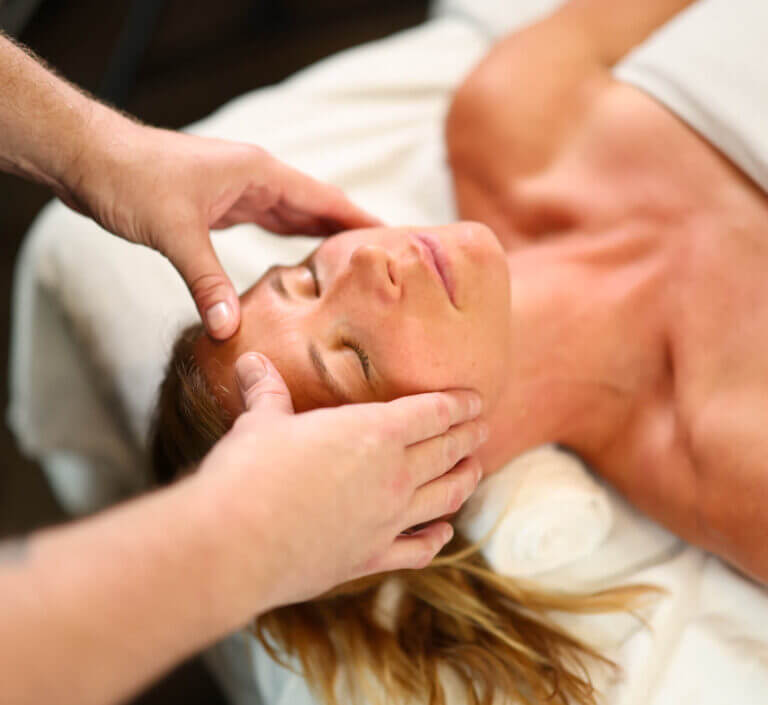
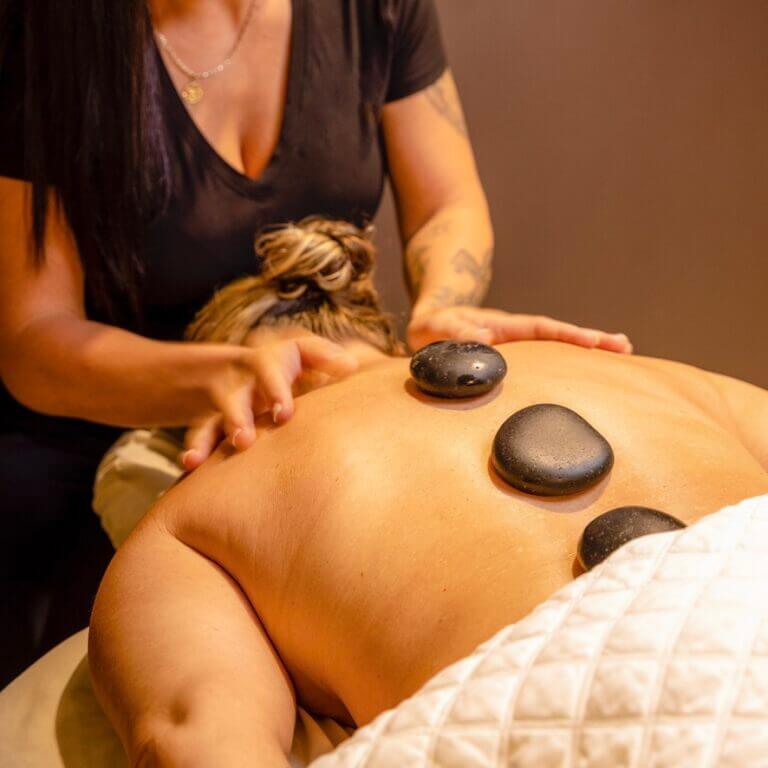
5 Benefits of Massage to Overall Wellness
Regular massages don’t just feel great – they do a lot to maintain your physical and mental wellbeing. Here are five benefits of massage for your total wellness.
The Most Effective Exercises to Boost Metabolism and Burn More Calories
Exercising isn’t just about looking good. It is about keeping your body healthy, strong, and energized. For active adults and Snowbirds in Phoenix, staying fit year-round means choosing the right workouts that make the most of your time and effort. Some exercises are especially powerful when it comes to boosting your metabolism and keeping calories burning long after your workout ends.
Cardio Zones: Know Your Zone
Boost your health and energy by training within the different cardio zones. Learn the best workouts for every heart rate zone.
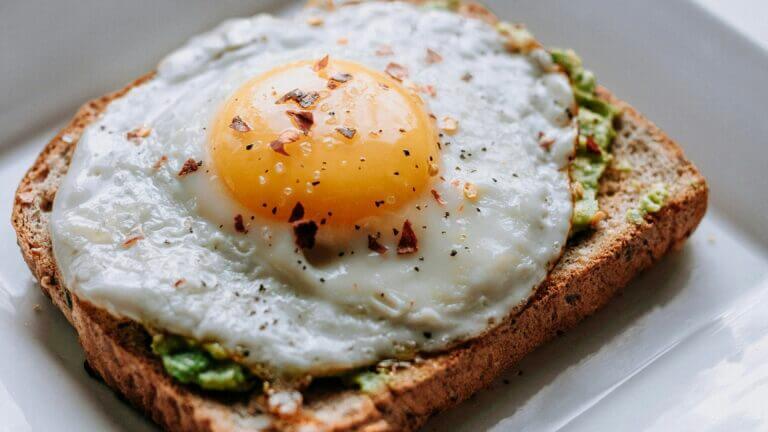
Upgrade Your Breakfast
By upgrading your breakfast, you can improve your energy, reduce cravings, and better support your health goals—all before lunch.
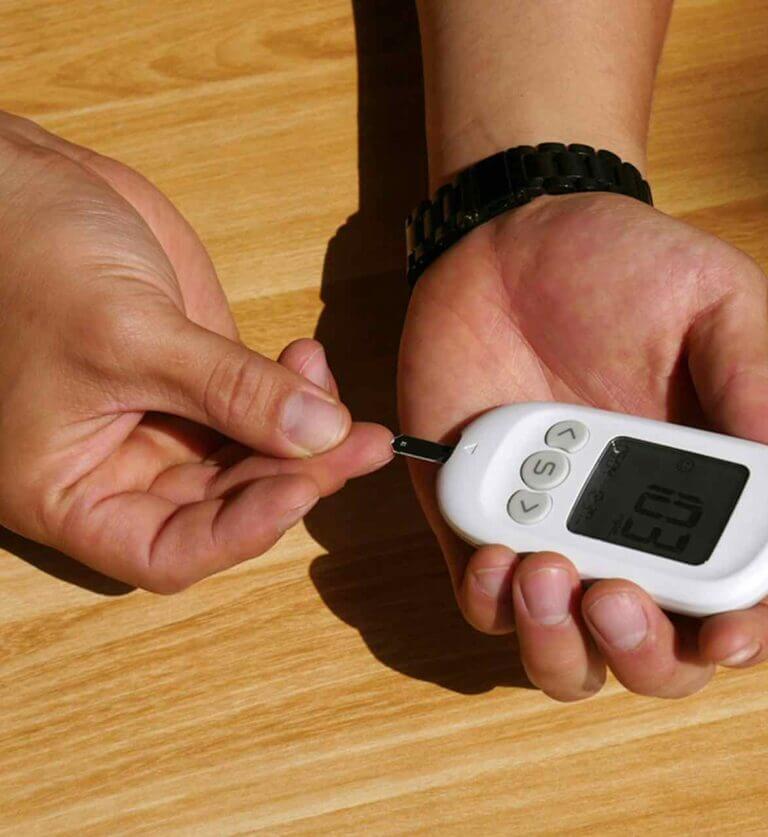
Blood Sugar Hacks for Healthy Balance
Balancing blood sugar is one of the key pillars of long term health. Check out these blood sugar hacks to keep your blood sugar in check.
15 of the Best Exercises for Older Adults to Stay Strong and Active Year-Round
The best exercises for older adults to build strength, boost balance, and stay active. Simple, effective moves for every level.
Is There Too Much Sugar in your Diet?
We all know that sugar isn’t the best for our health, but added sugar can sneak into our diets from surprising sources and add up quickly.
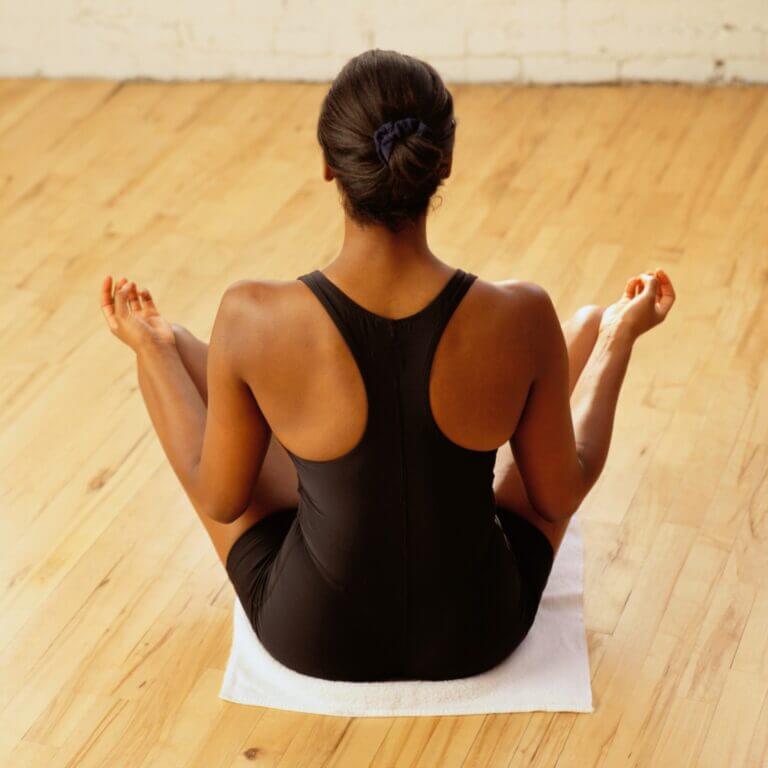
Yoga Nidra and Sound Meditation for Active Adults
Looking to quiet your mind and reduce stress? Our meditation classes in Phoenix use Yoga Nidra, sound healing, and breathwork to help you reset.
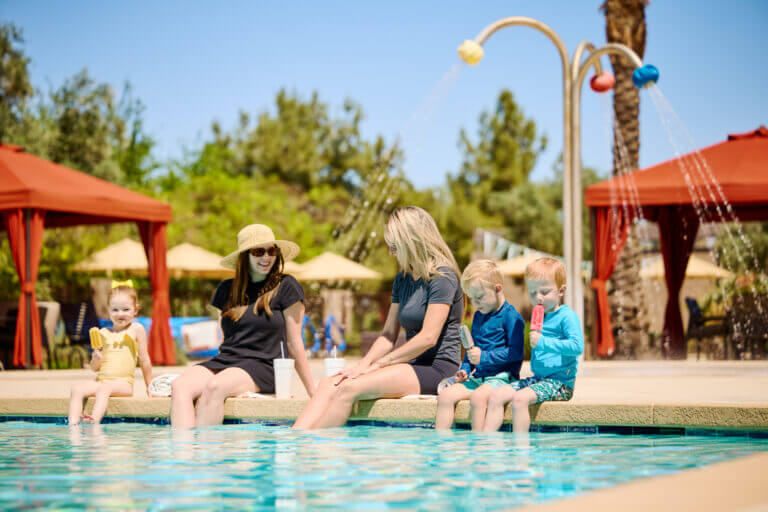
Family Fitness Ideas for Summer That Keep Everyone Moving (Even in Arizona Heat)
Fun, free family fitness ideas for summer in Arizona that beat the heat. Stay active with indoor games, pool activities, and more.
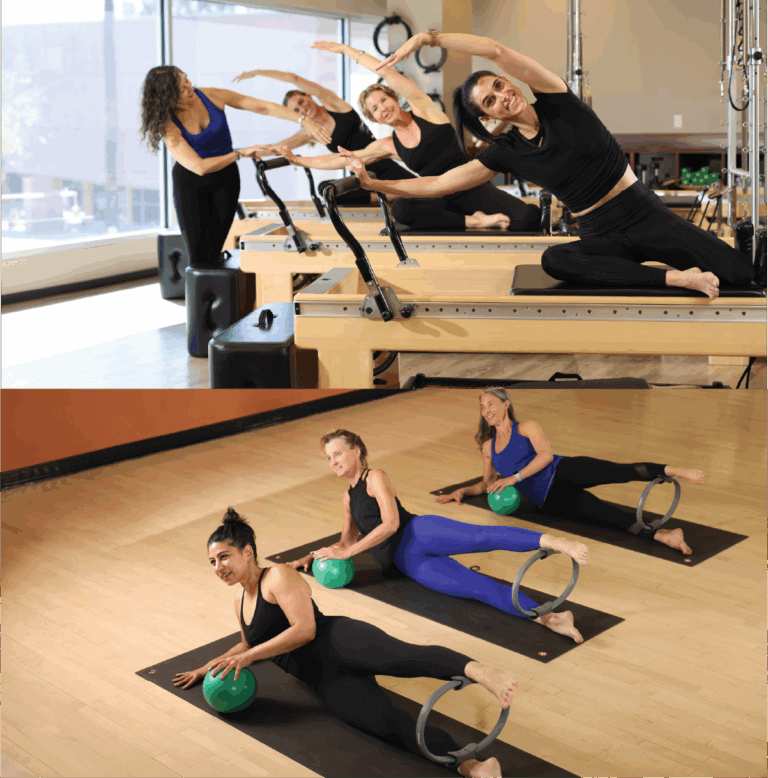
Mat Pilates vs. Reformer Pilates: Which is Best?
Wondering whether Mat or Reformer Pilates is right for you? Both offer incredible core-strengthening, posture-improving benefits—but with different tools, levels of support, and variety.
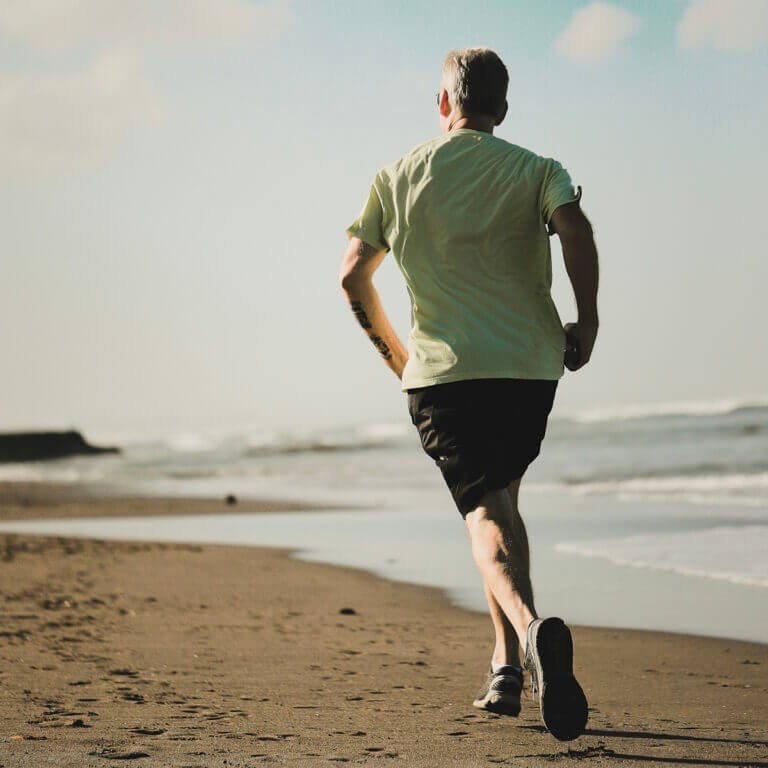
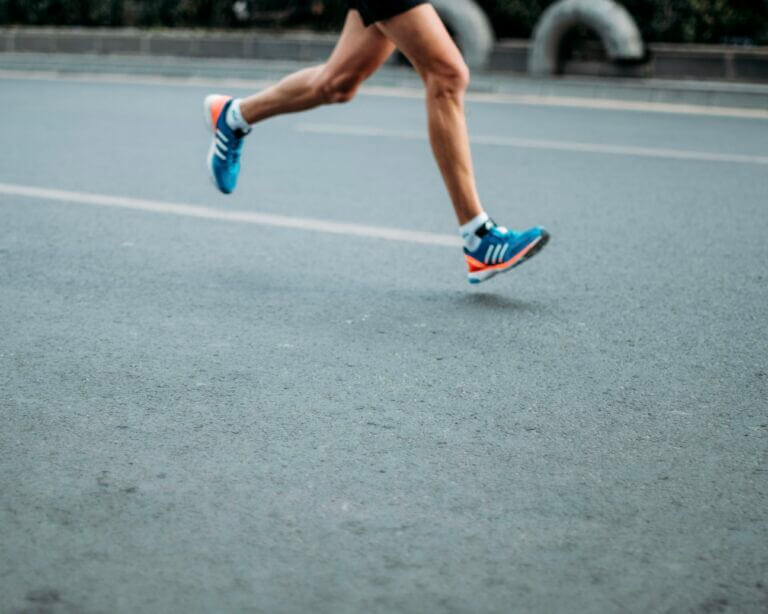
Beginner Running Tips From a Personal Trainer Who Hated Running at First
Running doesn’t have to feel like punishment. These beginner running tips will help you ease in, stay motivated, and enjoy the journey.
Prioritizing Protein Snacks
Sometimes even healthy snacks aren't productive towards your protein goals. Here are some helpful tips to increase your protein intake with snacks!
6 Foods that Naturally Increase GLP-1 in your Body
Discover how to naturally increase GLP-1 without the side effects of popular medications with foods that support satiety and metabolism.
Cold Plunge Benefits You Might Not Know
Cold plunging is not just a trend, it is a real way to optimize your recovery routine. Discover cold plunge benefits you may not know about!
Discover the Benefits of Red Light Therapy
Discover the benefits of Red Light Therapy. Improve your skin's texture, tone, and overall health while enhancing muscle recovery and wellness.
BALANCE: A Pre-habilitation Necessity
Balance is essential to longevity and overall health. Improve it with exercises that enhance neural connections and muscle response.
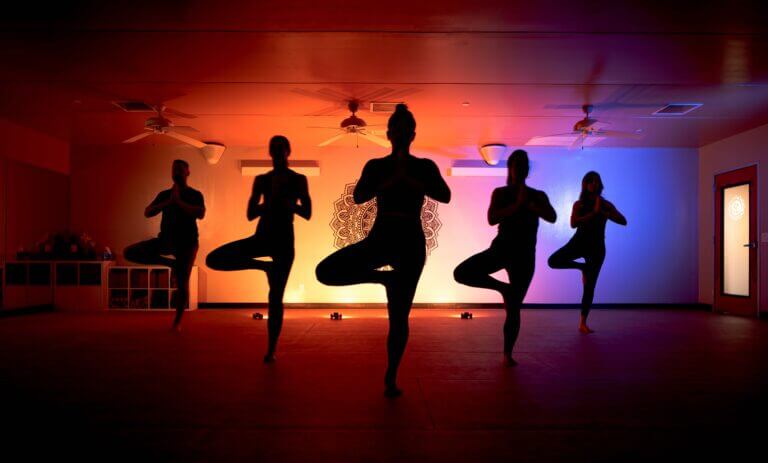
Destress with Group Fitness
There are many avenues to destress with group fitness. From calming yoga to endorphin pumping cardio, group fitness has it all.
Freezer Friendly Meals for Busy People on the Go
Preparation is the key to success. When it comes to eating healthy, planning ahead is crucial. Utilize freezer friendly meals to get ahead on healthy choices.
Unlock the Secret to Better Posture: Transform Your Life with These Simple Habits
Discover the power of good posture! Improve health, confidence, and energy with our expert tips. Explore Village Health Clubs' group classes today
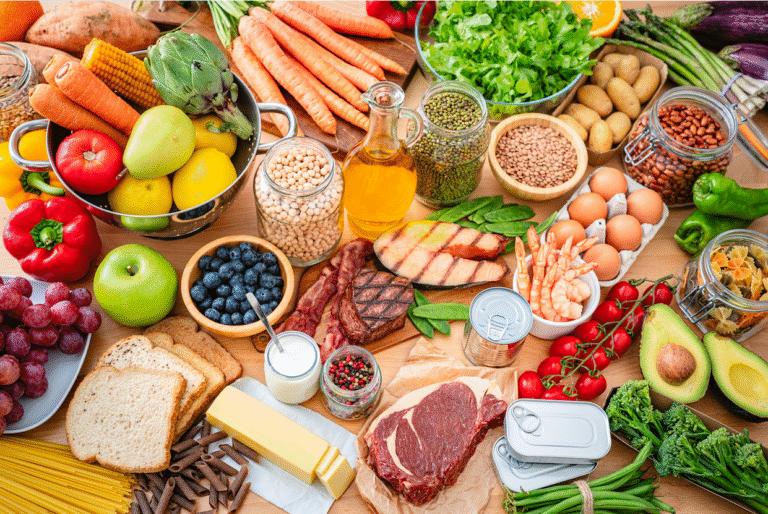
Top 5 Health Foods you Probably aren’t Eating
Superfoods like blueberries, salmon, and spinach are known healthy items. However, the top health foods are ones you probably aren't eating!
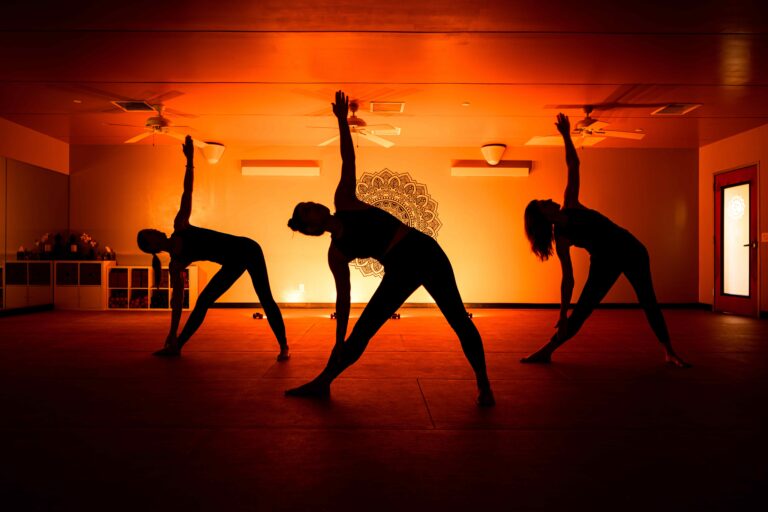
Finding the Right Yoga Class for You
With so many styles of yoga to choose from, it can be overwhelming to find the one best for you. Our guide to the styles of yoga can help!
Maintaining a Healthy Heart
Any exercise is good for your heart, but here are a few tips, tricks, and class formats best suited for keeping a happy and healthy heart.
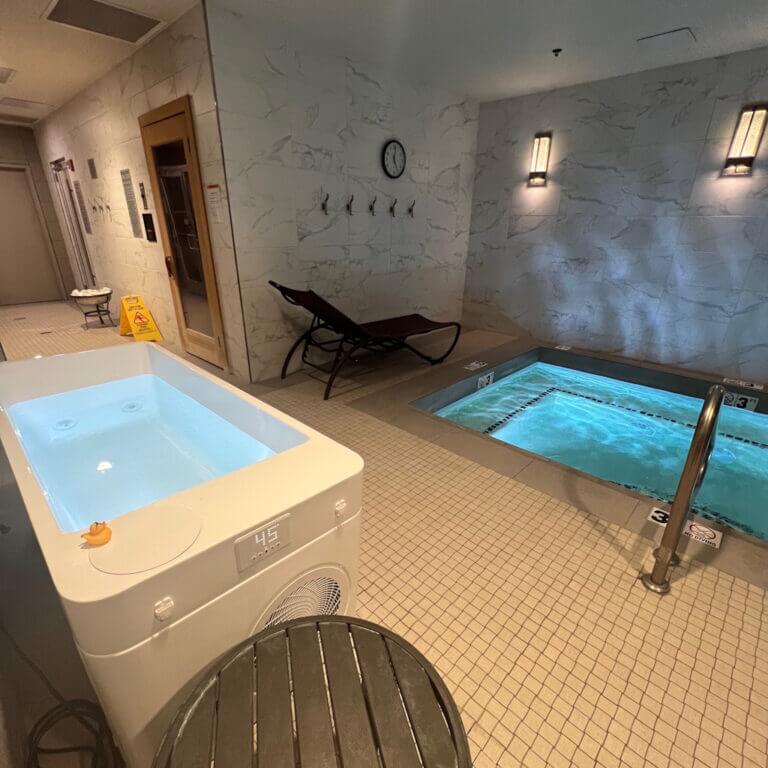
Six Spa Treatments That You May Not Have Tried
Our go-to treatments at the spa keep us feeling our best, but many uncommon spa treatments can also leave you with amazing results.
Welcoming Vegetarian and Vegan Guests to Your Thanksgiving Table
Looking for a yummy Thanksgiving menu for vegetarian and vegan friends? Our Village dietitian has tips to keep everyone happy on Turkey Day.
Workouts to Cure Summer Boredom
The best cure for summer boredom is an amazing workout. Staying active will burn extra energy and provide benefits for your body and mind.
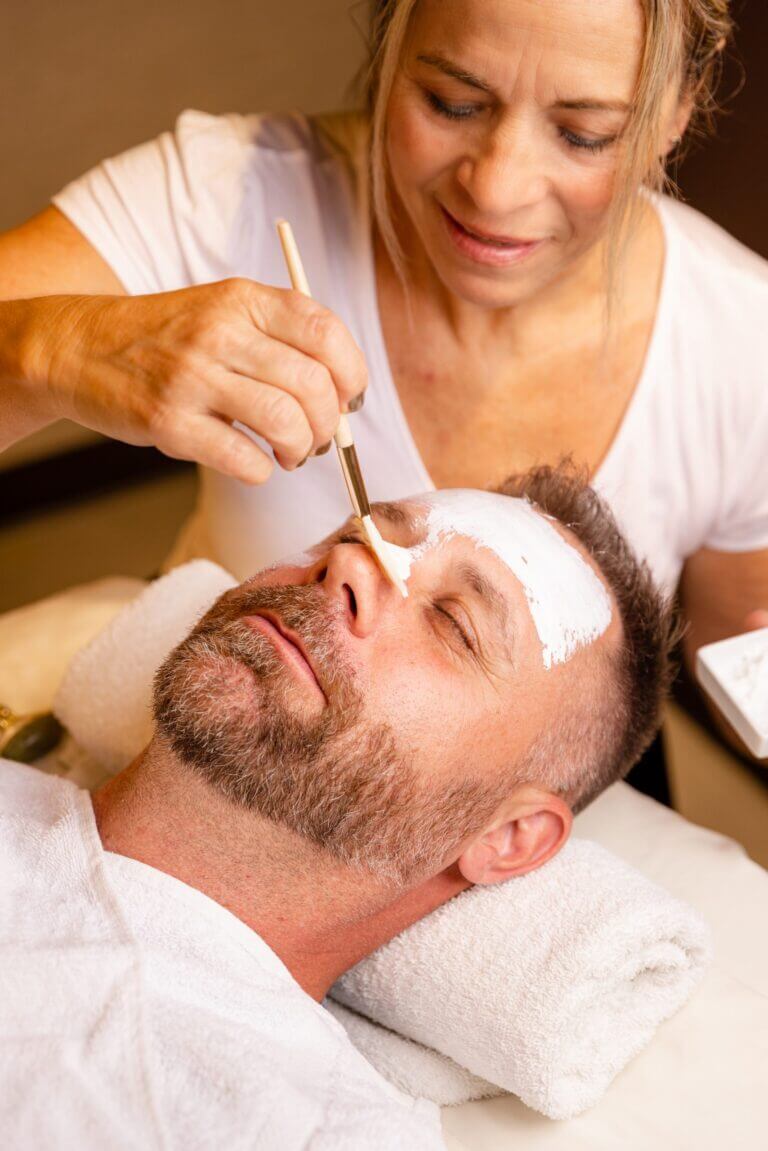
Spa Treatments that Leave you Feeling your Best
An important component to wellness is pampering self-care with indulgent spa treatments. Spa treatments should be incorporated into your wellness plan for physical and internal results.
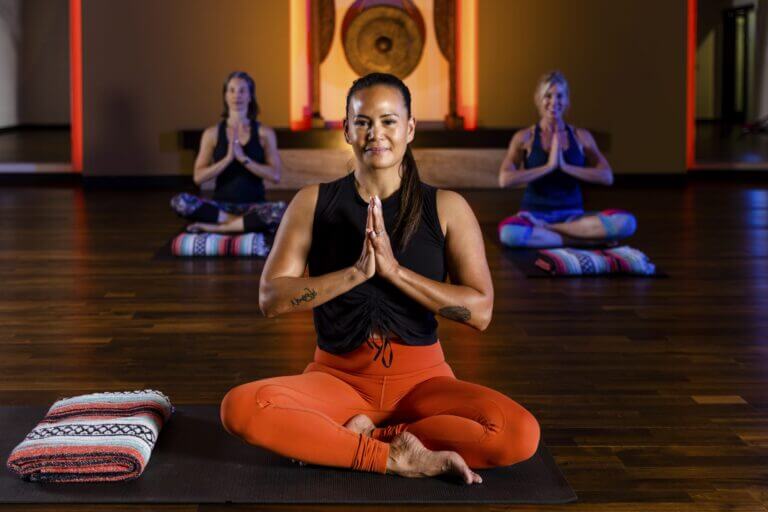
Yoga for Everyone
Village yoga instructor, P. Casey Maples, shares how yoga is beneficial to everyone's health and fitness routine.
Bodyweight Workouts For All Goals
It’s easy to see the benefits of bodyweight workouts. They’re convenient, especially in times where you want to work out at home for social distancing reasons.
Super Bowl Tips to Score a Touchdown for Health
Nachos, chicken wings, dips, pizza, and beer… these are just a few star players at any Super Bowl Party. So during the big game, is it possible to make healthy choices? Camelback Village Dietitian Jamie Miller has a play-by-play of how to not have a nutritional fumble while watching the big game.
Joining a Master Swim Class: Come on in — the Water’s Fine!
Joining a Masters Swim group can be mysterious and intimidating, if only for the first few minutes. Don't let the stereotype that “only hardcore super-fast swimmers go to Masters Classes” keep you from joining in the fun.
5 Things Smart Athletes Know About Pilates
Have you ever noticed that some athletes, like Olympians for instance, seem to have a superhuman ability to maintain their edge? Of course, even top athletes really are human. Like you, they fear injury, they become frustrated with poor performance, and they get depressed by their recovery time. So, how do athletes stay in the game?
The Benefits of Exfoliation
Dreaming of a smoother, brighter, toned complexion?
Life is Better with Massage
Simply stated, massage is the manual manipulation of muscles, tendons and connective tissues,helping to improve flexibility, circulation and accelerate recovery from injury or strenuous activity. Additionally, massage instigates the release of serotonin and oxytocin – the “happy hormones” that reduce psychological stress and can lower blood pressure, among other benefits.
Creating a Fitness Routine That Fits Your Lifestyle
Many of us have the right intentions for starting workout programs – losing weight, staying healthy, getting fit. In our busy lives, finding a time that works is often the biggest hurdle we face. Attaining – and maintaining – fitness is a long-term commitment, and your success depends on consistency.